3D Assets Sketches (References)
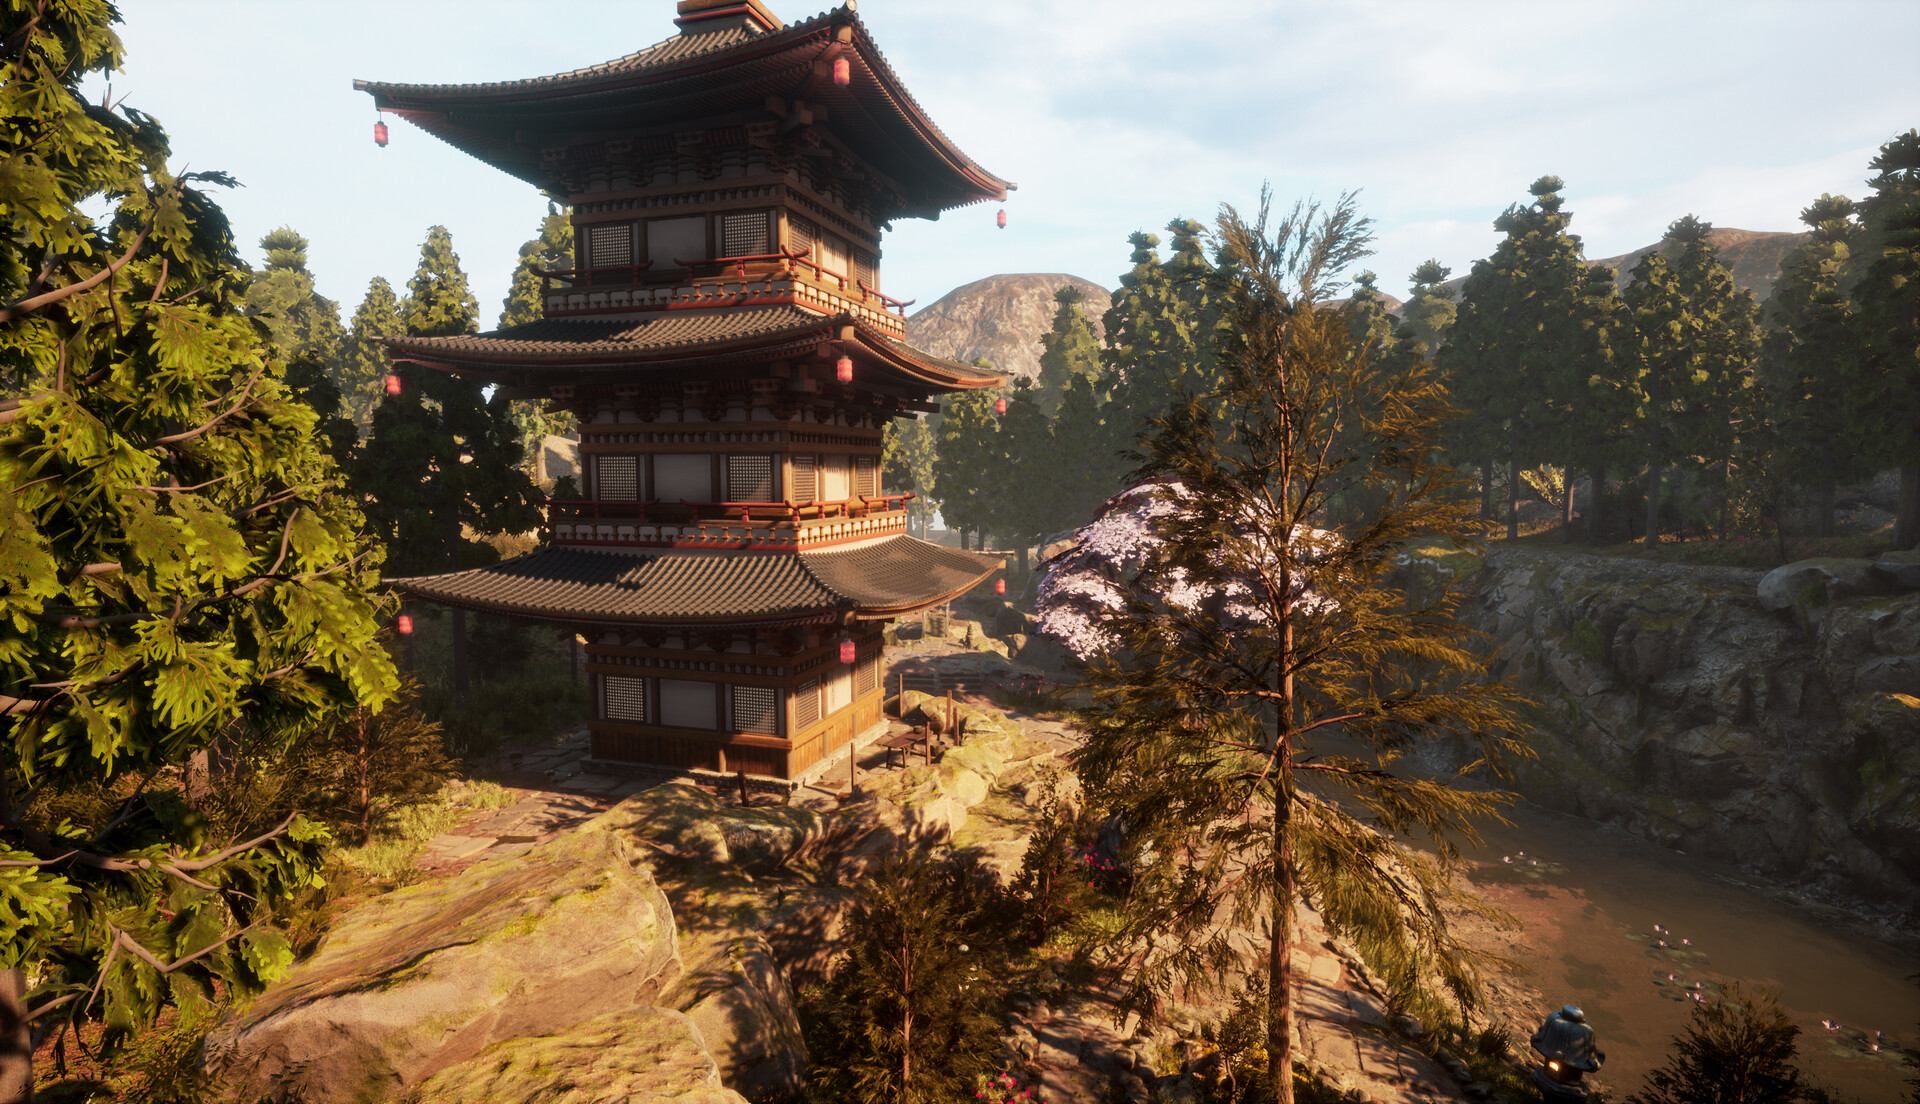
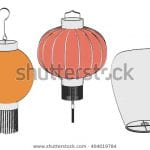
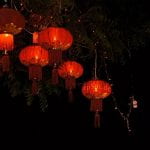
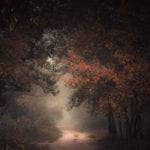
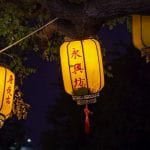
I want to experiment with 3D modeling in this project, as I have never had the chance to incorporate my own assets into an Unreal Scene. I wanted to add a few elements which would add to the meditation and zen atmosphere, therefore I decided to create some Chinese-inspired lanterns. I wanted to try out 3 different styles of lanterns such as a hanging lantern, a floating water lantern, and a traditional wooden floor lantern.
As this is my first attempt at 3D modeling and texturing, I thought, if I made three different assets, it might give me a variety to chose from. Also, if one of them doesn’t meet the level of quality, or doesn’t look how I want it to, I can then just use my best asset.
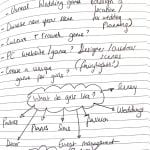
I created some sketches to reference my 3D model experiment (using external references from Google Images). I drew these on ProCreate on my iPad, here is what they look like, I have also included the sketch process video:
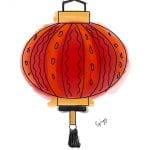
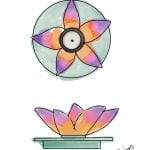

(Figures 39-41)
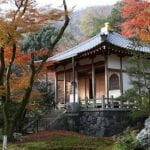
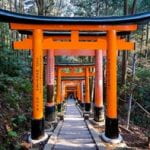
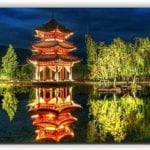
Reference images:
Here are the reference images I used to draw my assets, I found all three of them on Google Images.
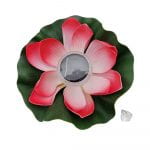
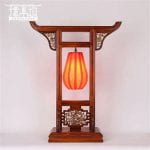
(Figures 42-44)
3D Modeling and Texturing
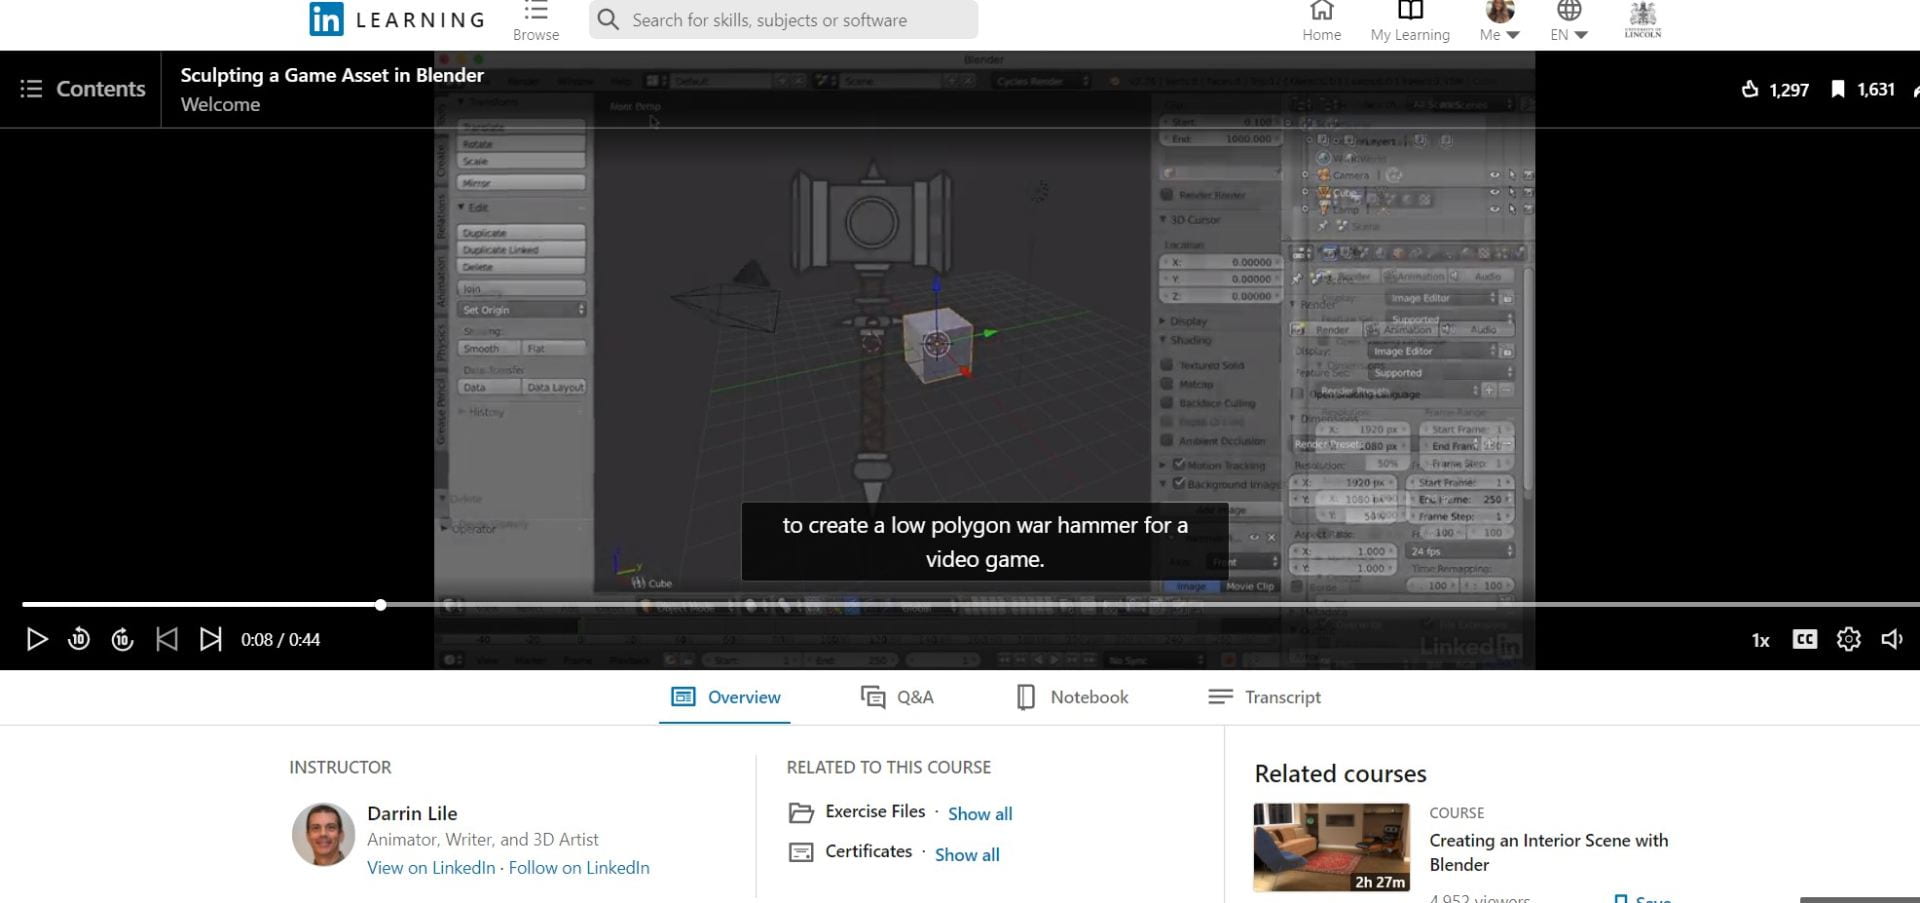
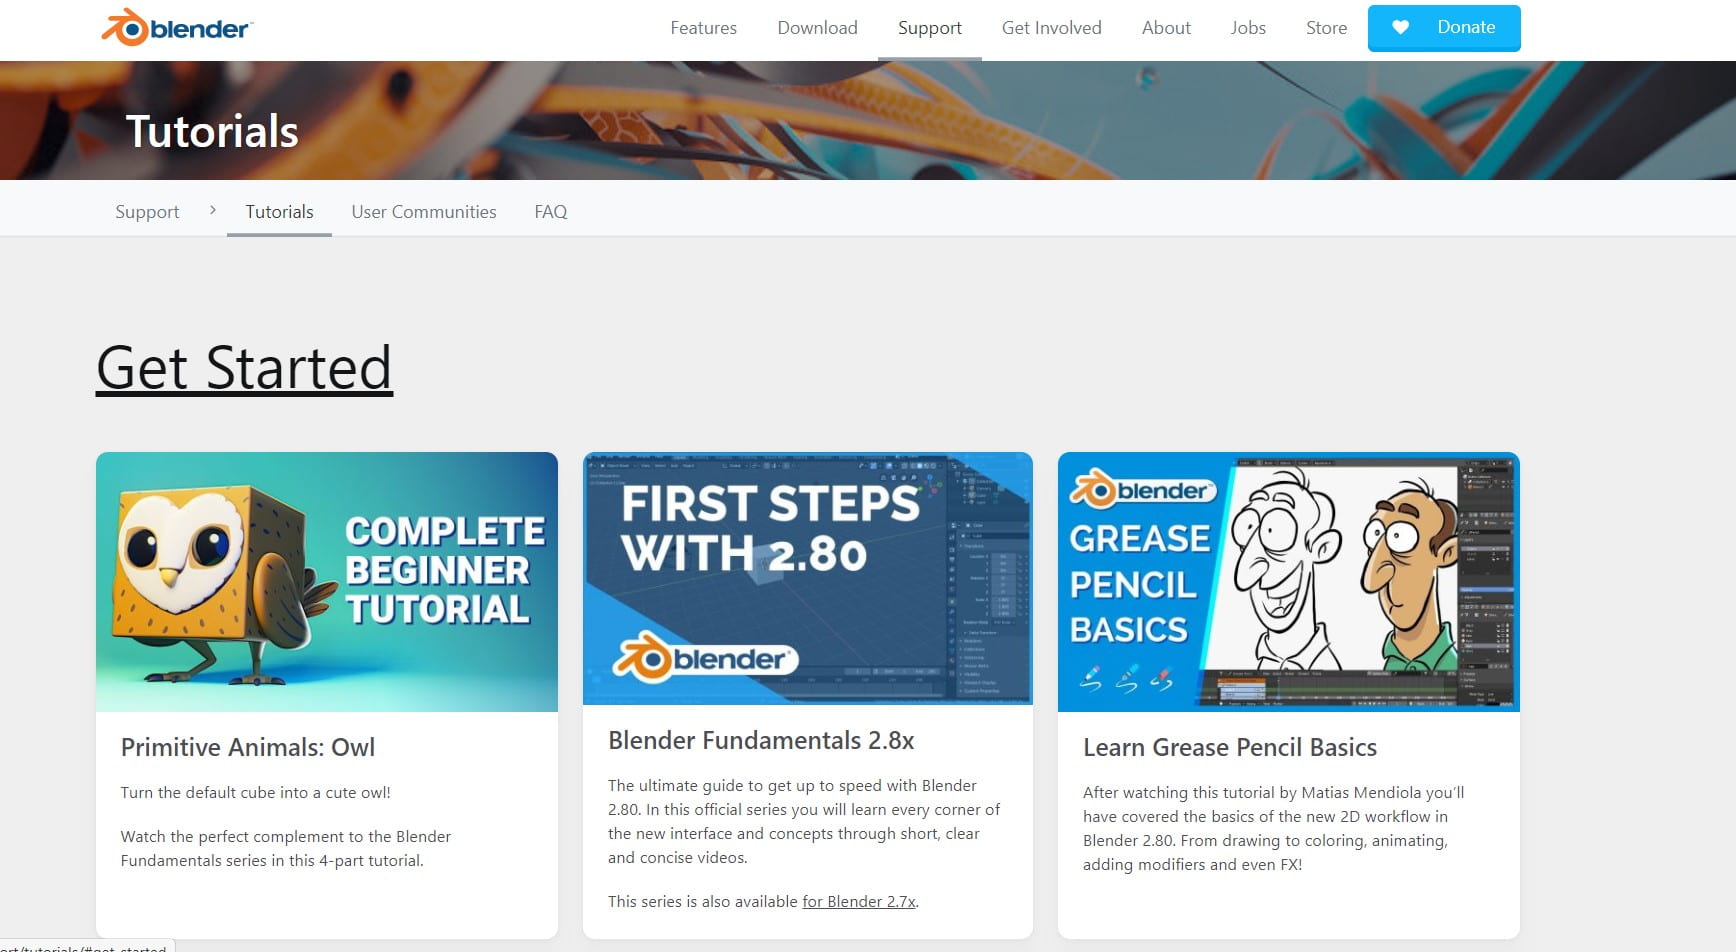
The first model I created was the hanging lantern, I started off watching a few tutorials, and mainly just played around with it, to get used to the UI and the feel of Blender. I found the overall modeling process fairly easy, with a few issues and minor stresses along the way.
I had a meeting with my module lecturer and set a deadline to complete all of the 3D models ready for the next meeting so that he could advise me on the next step. This was very helpful as it allowed me to ask more questions, and the guidance was specific to my work and project. Whereas by using YouTube tutorials, it was harder to problem solve and fix any minor issues I’ve had, as they are only demonstrating their project, not mine.
With YouTube tutorials, I had to gain knowledge from what I’ve seen, then apply it to my own project and hope for the best, whereas having an online meeting, where my lecturer went through the work I have done and gave me an example of what I needed to do was very beneficial to my project and learning development.
Meeting recording:
What did I learn from this?
- How to merge objects using Ctl M or Ctl J
- Bevel Edges Modifier
- Smoothing
- Auto Smooth Option
- Applying all transforms
- Applying modifiers
- Creating material ID’s for each section
- Smart UV Unwrapping
- Exporting FBX for Substance Painter and Unreal
- Recalculating the outside normals mesh
- Starting a project in Substance Painter
- Using Smart Materials
- Smoothing out the petals
- Using the solidify modifier
- Exporting textures for Unreal in Substance Painter
Hanging Lantern modeling and texturing process video:
I recorded the process of building and texturing each asset so that I could look back on the process, and see what I have done. This allows me to visually see my learning process and how my skills have developed, as I come to learn more and practice those skills.
I have narrated over the video explaining what I am doing in each section and my thought process.
Material Nodes for Unreal: 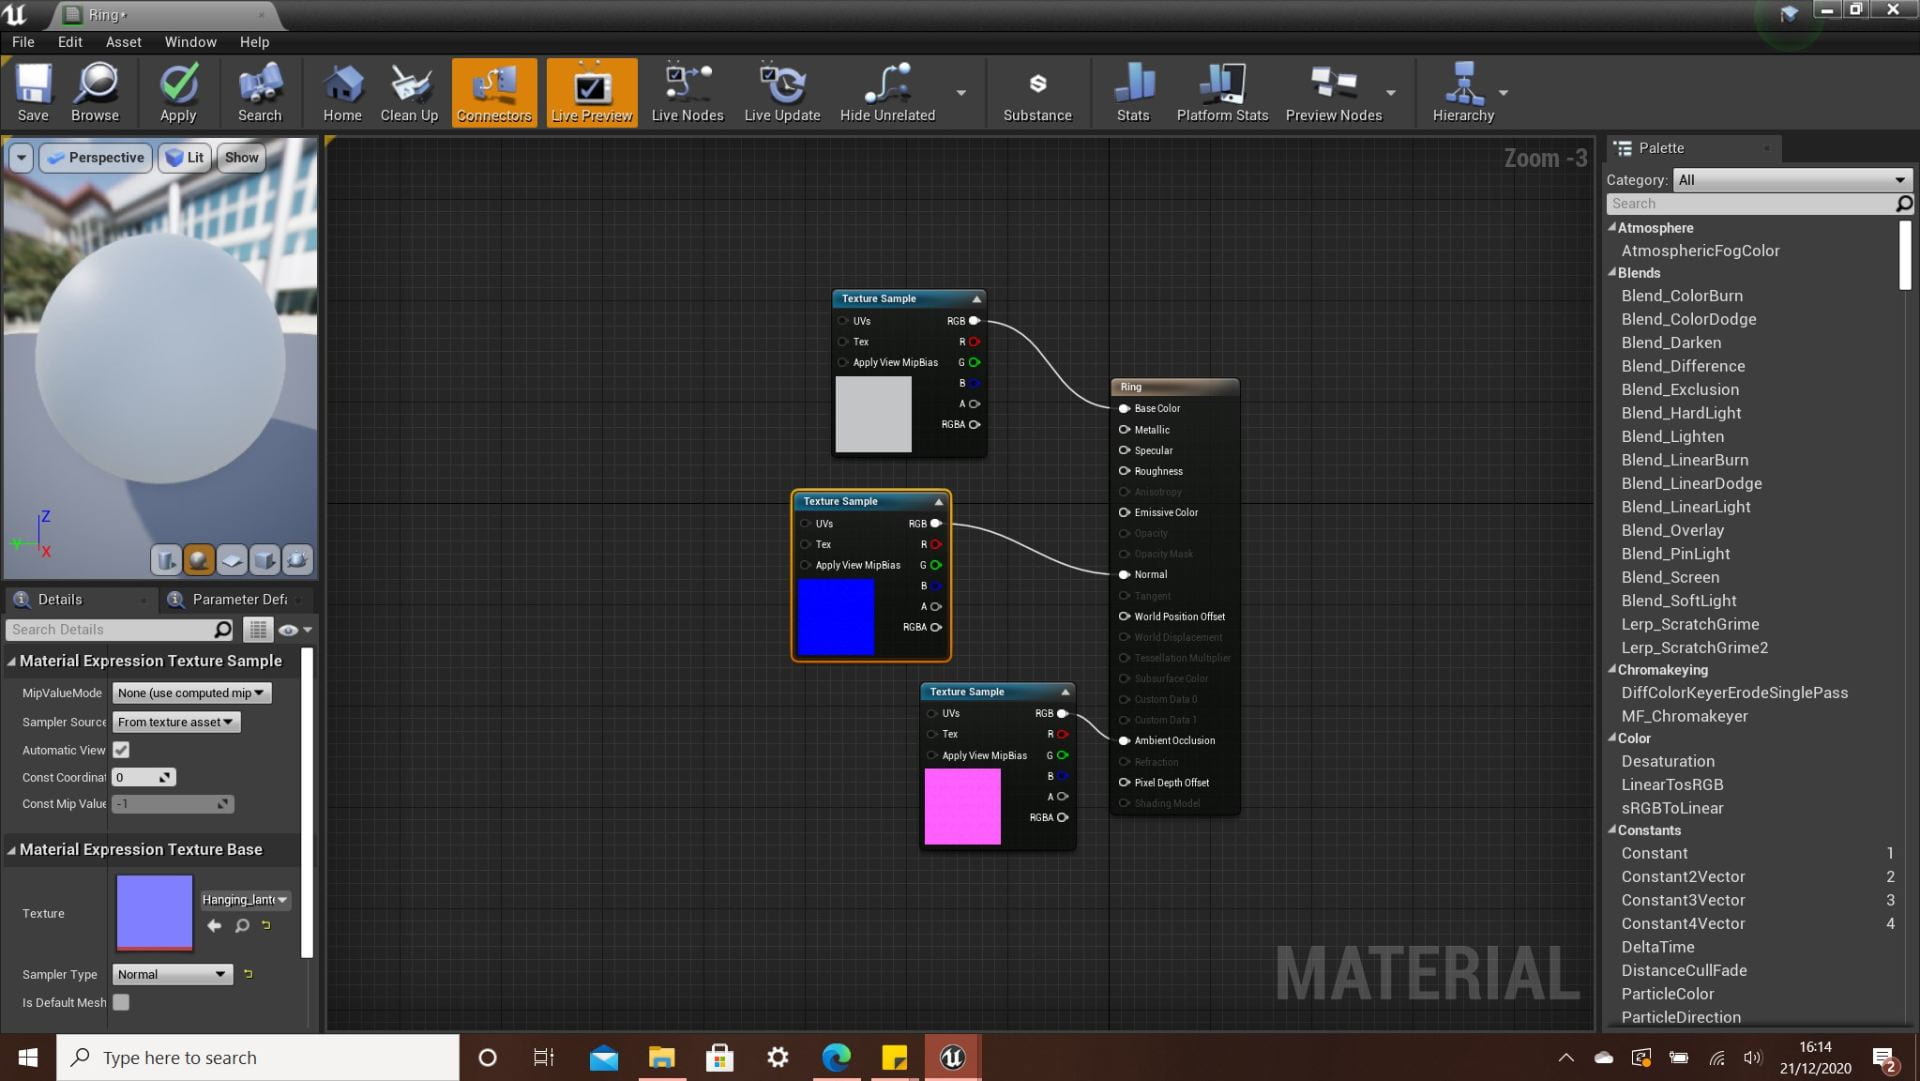
(Figure 45)
What did you find hard?
I had a lot of issues with this, being my first attempt. As shown in the video, I had a few small issues getting used to modeling and the hotkey shortcuts. The main issue which I found the hardest/ most stressful, was in Substance Painter. I struggled with exporting textures for Unreal. I did not realize that you had to export three different texture maps for every material ID. I watched a few videos on how to export textures for Unreal in Substance Painter and in the video they only exported three textures in total, whereas I had a lot more than that so I got very confused. This was because they had the materials for the 3D model all in one material ID so they only needed to export that to plug into the material for the 3D model in Unreal.
What I soon figured out, by going into Unreal and bringing in the FBX model I exported in Blender, is that each material ID (part of the model) has its own material, which I can then plug the texture maps into in Unreal. Then everything clicked and it made sense and the whole process seemed a lot less stressful.
What do you wish you could do better?
To make it better, I could add textures to the lantern such as oriental patterns to make it look more detailed. I could also add a paper shader to it to make the light shine through the lantern.
What do you like about it?
I am happy with how it turned out, especially for my first attempt at modeling and texturing. I am confident that it will fit in with the scene and complement the scene.
Water Lantern modeling and texturing process video:
What did you find hard?
I found the water lantern the most difficult 3D asset to model due to the unique shape and advanced structure. The area I found most difficult is creating the petals, although I watched a video that helped me create that shape, therefore making the process a lot easier. I found a lot of issues with this model in Substance Painter. For some reason the materials did not want to wrap around the map correctly, resulting in stretched materials, this looked very unrealistic and unpleasant. I couldn’t figure out what the issue was, I tried realigning the normal maps, and UV unwrapping again but I currently do not have enough knowledge to troubleshoot this particular issue. Also, this was a challenge for me because I didn’t know what the actual problem was, therefore I did not know what to search for to find a solution. To solve this issue I ended up just adding a fill layer and then altering the settings of the color, roughness, and metallic to create the desired look. This prevented the visual tearing and stretching which came with the smart materials.
What do you wish you could do better?
To improve this, I would spend more time trying to understand the material issue and then work with alpha masks and brush tools to create more detail into the model.
What do you like about it?
I do like how the flower shape turned out, as it looks nice with the point light in Unreal, I think this asset will complement the scene nicely, maybe on the ground or floating in some water.
Floor Lantern modeling and texturing process video:
What did you find hard?
I found the floor lantern to be the easiest 3D asset due to the simple block shapes, the most challenging part was creating the lightbulb shape. This was the asset I am most confident with, although I did have to get used to some things such as aligning normal maps to prevent any errors in the model while opening it in Substance Painter. Also, I should have separated the bulb and the bulb holder in Blender because I ended up painting separate materials in Substance Painter, although this did teach me how to use paint layers and the brush tool.
What do you wish you could do better?
To make this better, I could have figured out a way to make the light bulb emit light, as a lightbulb does. Maybe if I have time I will look into this.
What do you like about it?
I am pleasantly surprised by how this turned out, I initially thought that this would look really bad when I brought it into Substance Painter because the lack of shadows made the materials look very strange. But when I brought it into unreal I liked how it looked with the atmospheric lighting and adding a point light added an extra touch, bringing light and depth to the scene.
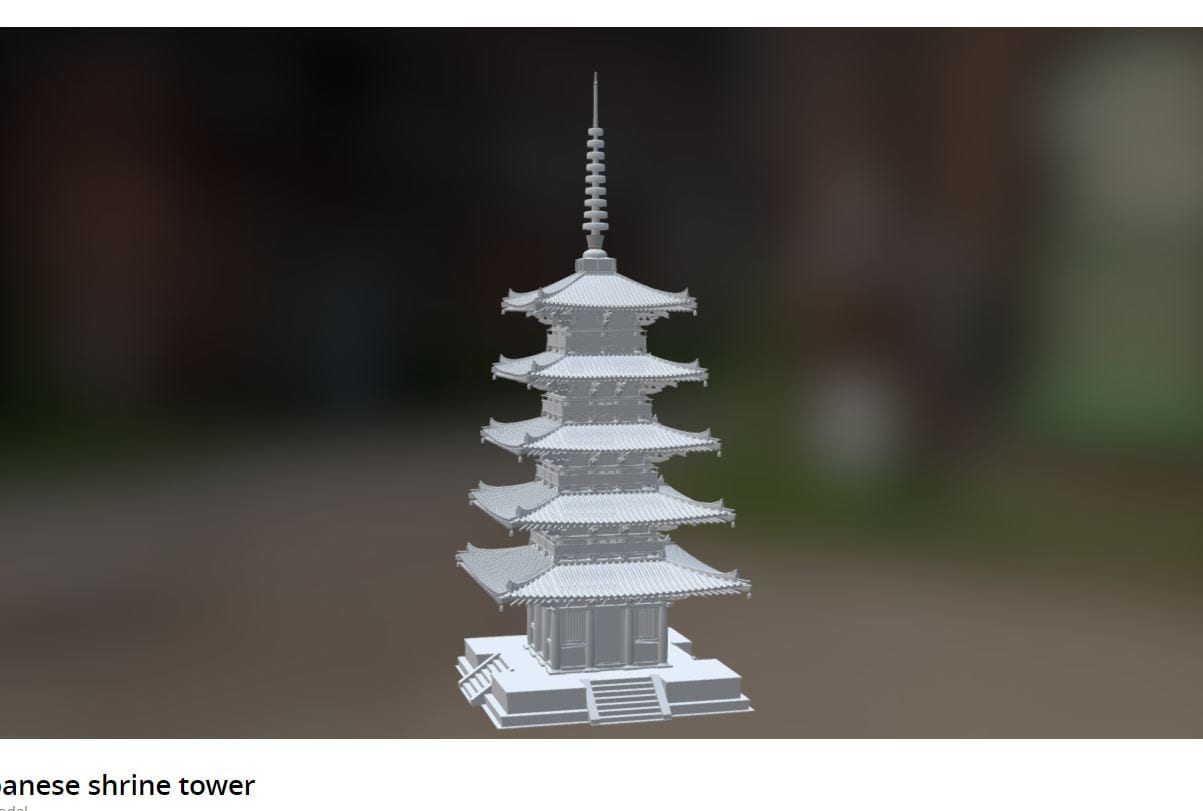
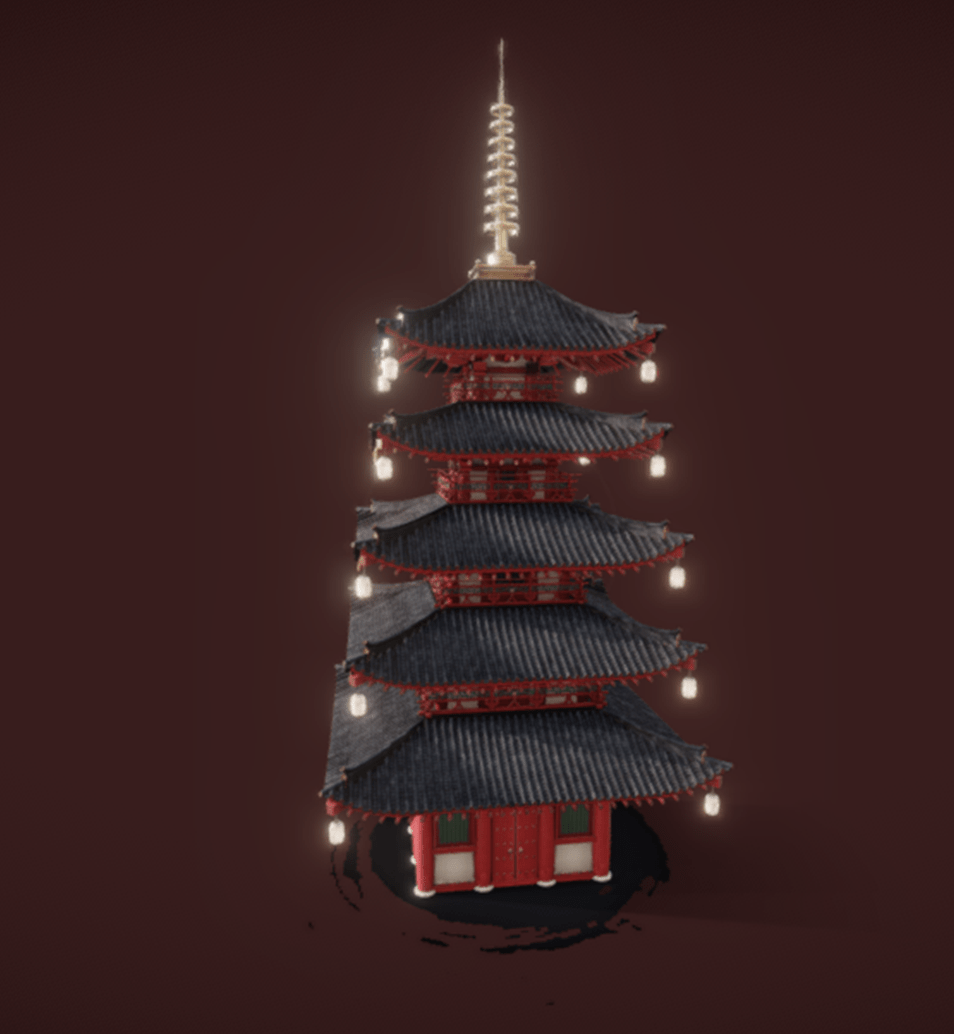
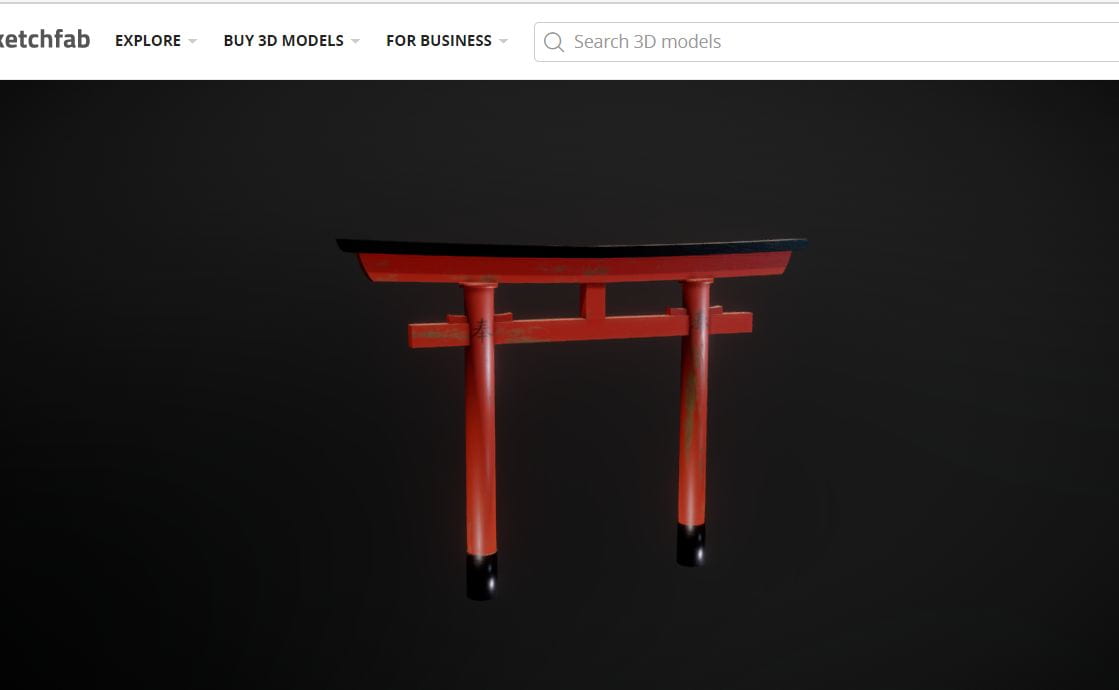
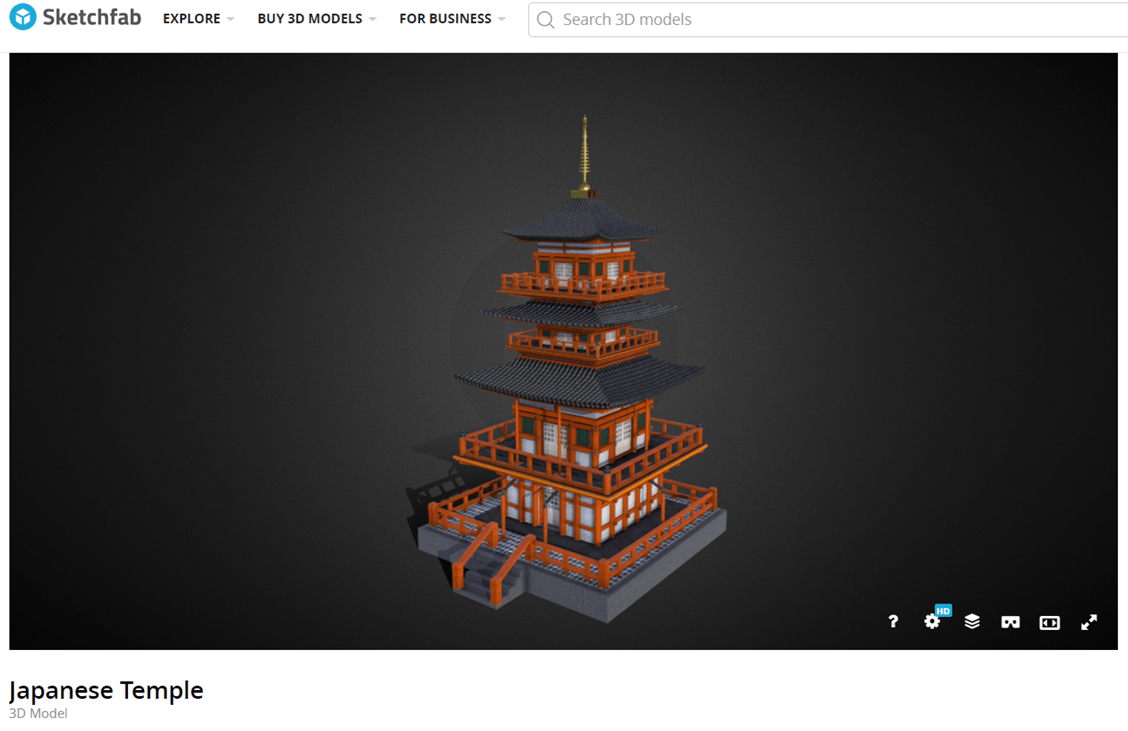
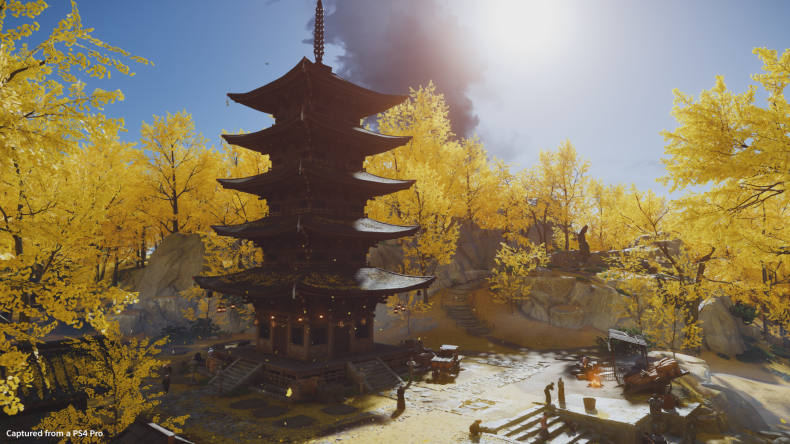
Using the sourced Temple 3D Model and setting up the material nodes:
What did you find hard?
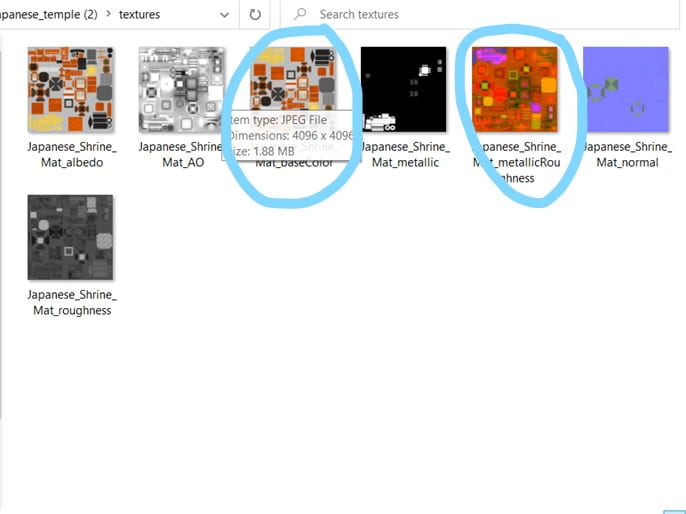
I have never used 3D models from Sketchfab for Unreal before, and I did not realize that all of the nodes and materials needed to be built together. I am used to using assets from the Unreal marketplace and Quixel Bridge which don’t require the texture maps to be plugged into the asset materials. The first temple was confusing me a lot because I thought I was missing something and was not plugging in the maps correctly, but as soon as I found that other people were having issues and that maps were missing it made sense so I found another model. The second model worked so much better but I did have to understand which maps to use, as there were 2 extra maps. I also downloaded another asset which was just a blank FBX file that can be used in Substance Painter. I thought maybe I could create my own material for the temple, but when I opened it in SP I found that there was only 1 material ID so I would have had to paint each section using the brush tool which would have taken a long time, which I didn’t really have.
What do you wish you could do better?
To make this look even better I could incorporate my hanging lantern with lights to add more depth to the model. It would be interesting to be able to make my own materials for this but I did not have enough time.
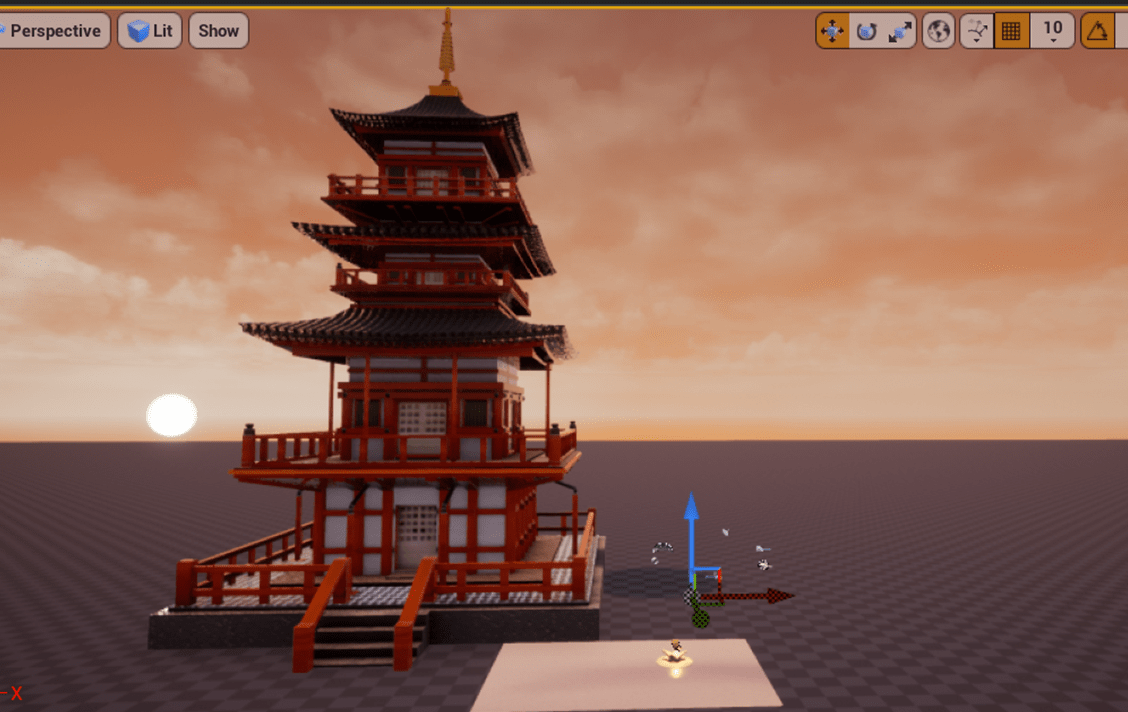
What do you like about it?
I like the way this temple looks in the Unreal engine and I think the temple is a necessary asset to create the oriental meditation space scene, as it adds Asian architecture to the level.


 (Figure 1): https://cdna.artstation.com/p/assets/images/images/023/327/808/original/tomas-brezik-webp-net-gifmaker.gif?1578859387